Setting up for the challenge #
I was lucky enough to get to BSides Canberra in 2021, but I did not have time on the day(s) to compete in the IR challenge. Generously. the team at the ACSC have provided the challenge in its entirety and I have been working my way through the challenges and will write up each of the different sections on how I solved the challenge and what tools I used.
This will all be using open source or free to use tools. It could be a slow process as part of this has me working on Autopsy plugins and updating them.
The challenge can be downloaded directly from the ACSC here along with all the details you need to get going. Big thanks to the ACSC for putting this together and sharing the content.
Setup #
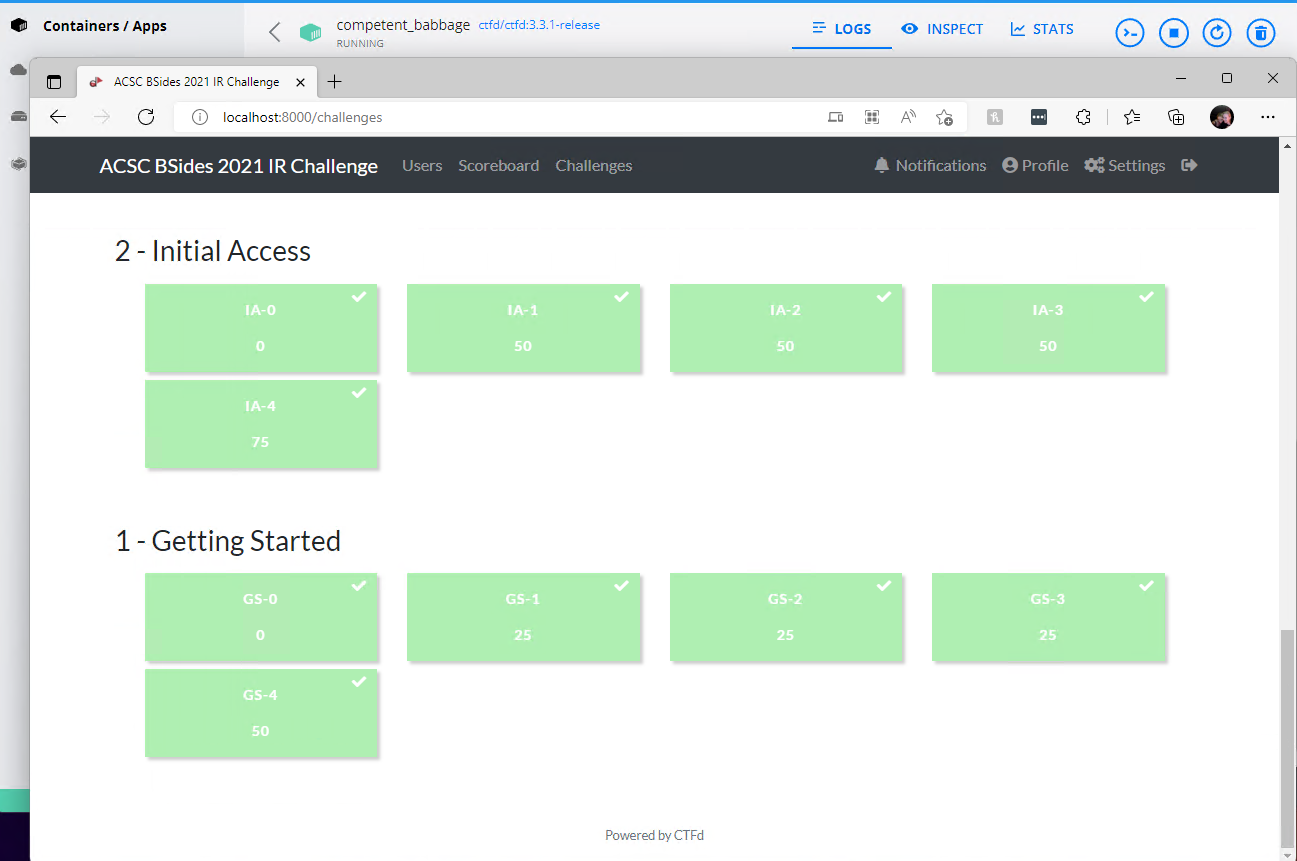
So I could pretend to play along I setup an instance of ctfd locally in docker for windows. This step is not necessary as we have the answers already, but was a bit of fun for playing along.
Disk Forensics #
Autopsy #
Autopsy® is the premier end-to-end open source digital forensics platform. Built by Basis Technology with the core features you expect in commercial forensic tools, Autopsy is a fast, thorough, and efficient hard drive investigation solution that evolves with your needs.
I chose Autopsy to run the artefacts through along with some chosen python parsers to demonstrate the capabilities. You can get by in the challenge using artefact parsing tools and log tools, however I wanted to also work on updating some Autopsy plugins and decided to run the artefacts through Autopsy too and have validation for my findings.
Full Autopsy setup and configuration is available here.
Log Review #
Splunk #
Splunk is an extremely popular and powerful enterprise data platform. I chose Splunk for the log analysis as there is a free version for non commercial use and learning and gaining skills with Splunk is extremely beneficial for security practitioners. You can get Splunk Enterprise on a free trial license.
Memory Forensics #
1. Volatility 3 #
Volatility is the world’s most widely used framework for extracting digital artifacts from volatile memory (RAM) samples. The extraction techniques are performed completely independent of the system being investigated but offer visibility into the runtime state of the system.
Most of the tools that I use run natively on Windows, but for those maybe function better in Linux I’m leaning more towards WSL2 than a Ubuntu VM. I followed this video by 13Cubed to install Volatility3 and use within WSL2.
An overview of the process:
- Install WSL2
- From a command prompt within WSL I used the volatility wheel file to download and install the latest version of volatility3:
$ wget https://github.com/volatilityfoundation/volatility3/releases/download/v2.0.1/volatility3-2.0.1-py3-none-any.whl
$ python3 -m pip install volatility3-2.0.1-py3-none-any.whl
- https://github.com/volatilityfoundation/volatility3/releases
- https://pip.pypa.io/en/latest/user_guide/installing-from-wheels
The binary vol was then available in .local/bin/ from the installation directory.
2. TrufflePig Nexus #
Nexus analyses Windows memory images fast and reliably with an intuitive Web-UI. It gives a comprehensive overview of artifacts, IoCs and their context which allows for an efficient triage. Trufflepig Nexus was built by practitioners to make memory forensics more efficient and easier accessible to a broader audience.
I came across Trufflepig Forensics on Twitter and wanted to try out and compare the results in memory forensic challenges to Volatility so that I have my validation process, but also try out the GUI front end to make life a little easier.
- Download the trial version from https://trufflepig-forensics.com/
- Run the install wizard and setup.
Artefact Parsing #
Not everything can be down with touch button forensics, actually most things need to be verified by a multitude of tools, so having the ability to parse artefacts on their own is critical to making sure that you are getting the correct answers to your questions from the evidence.
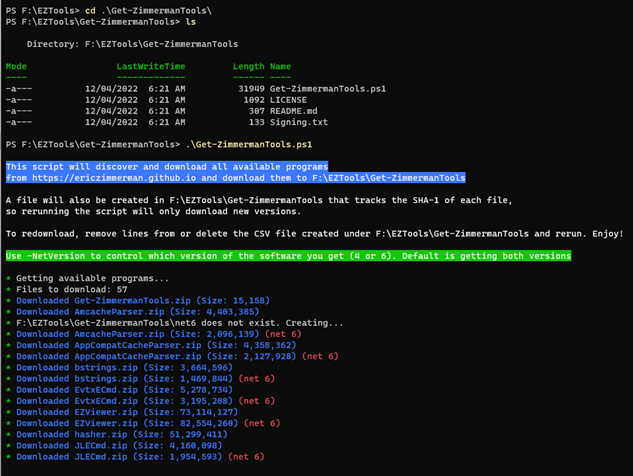
1. EZTools #
These open source digital forensics tools can be used in a wide variety of investigations including cross validation of tools, providing insight into technical details not exposed by other tools, and more. Over the years, Eric has written and continually improve over a dozen digital forensics tools that investigators all over the world use and rely upon daily.
Eric Zimmerman provides a PowerShell script to download and catalogue the versions of the tools on your system. Use this script to install and update the EZTools. Eric puts a lot of work into these tools for minimal return, please consider sponsoring his project on Github.
    Git clone https://github.com/EricZimmerman/Get-ZimmermanTools
    cd .\Get-ZimmermanTools\
    .\Get-ZimmermanTools.ps1
* MFTECmd.exe #
When you open the CSV, you will need to set the format for the date/time columns. I set the format for columns T -> AA as yyyy-mm-dd hh:mm:ss.000.
NOTE: ensuring that you have the milliseconds represented will stop any rounding which will change your answers.
Excel Incident Timeline and Tracker #
Most organisations use some kind of tracking spreadsheet during investigations. The CrowdStrike Incident Response Tracker is a convenient spreadsheet that includes sections to document indicators of compromise, affected accounts, compromised systems and a timeline of significant events. CrowdStrike Services released their tracker spreadsheet to assist the Digital Forensics and Incident Response (DFIR) community during incident response investigations.
Of course, feel free to use or create your own.
Evidence & artefact parsing overview. #
If you wanted to get a head start on adding the artefacts to Autopsy and parsing before getting stuck in, the following table outlines what I parsed with what from which systems.