4 - Privilege Escalation #
So the actor was aware that sample 2 was replicated onto CORP-WEBDEV, giving them access further into the network. What would they have done next?
Once the attacker has established themselves on the network, they will look to gain additional privileges such as administrator, or admin like accounts. The questions in this section are focus on corp-webdev.alien.local.
To complete this section I have used the following tools:
- EZ Tools - MFTECmd.exe, MFTExplorer.exe
- Autopsy - ParseEVTX Python Ingest Module.
Note: See this page for tool set up and explanations.
TA004 - Privilege Escalation consists of techniques that adversaries use to gain higher-level permissions on a system or network. Adversaries can often enter and explore a network with unprivileged access but require elevated permissions to follow through on their objectives. Common approaches are to take advantage of system weaknesses, misconfigurations, and vulnerabilities.These techniques often overlap with Persistence techniques, as OS features that let an adversary persist can execute in an elevated context.
PE-1 #
You need to just eyeball the timeline and the locations a little but and get to know what looks odd and might be out of place.
M-2 #
It is exactly the same timestamp as corp-webdev.
PE-2 #
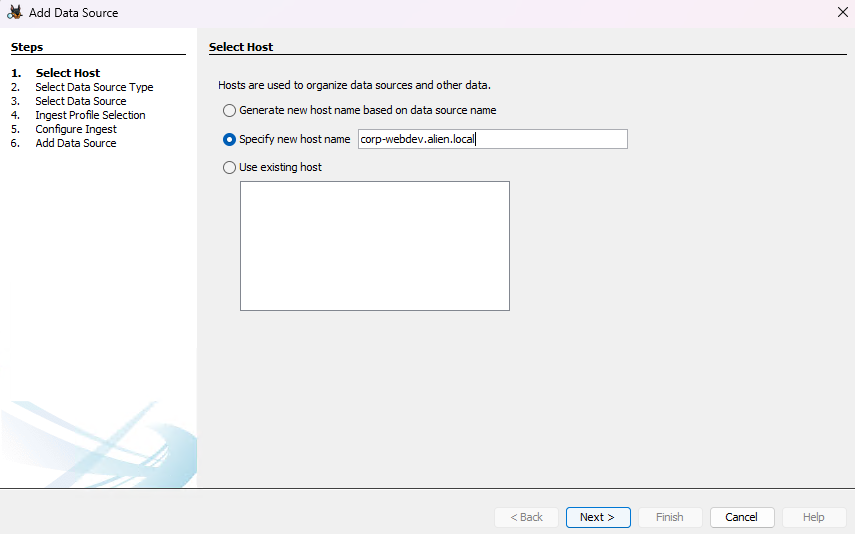
Select the data source type as “Logical Files”.
Browse to the folder “C” and progress.

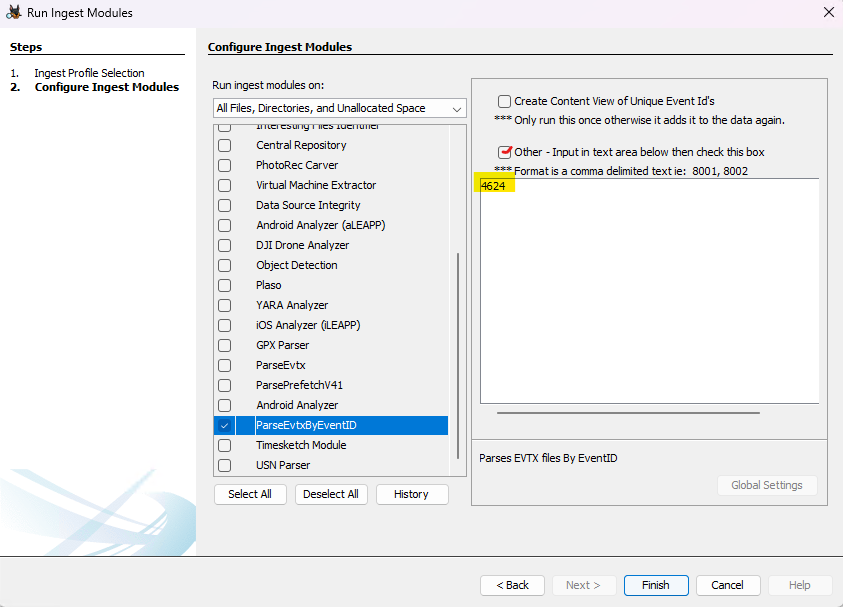
When you get to the configure ingest window, “deselect All” and then scroll down to “ParseEvtx, and select Security, System and Application in the configuration window and click next and finish and wait for the parser to finish.
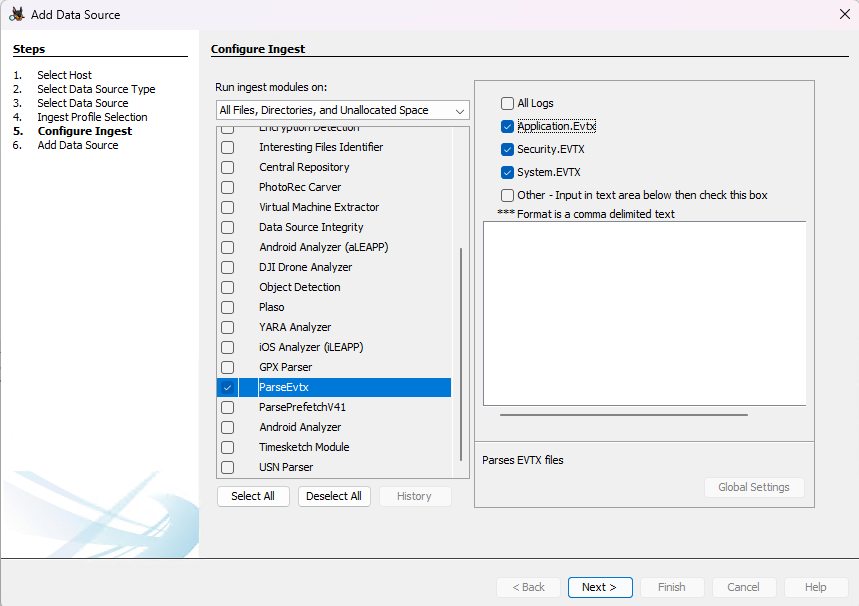
Once the parser has completed, we’ll see the Windows Event Logs in the Data Artifacts Tree on the left. Select that branch and we can now view the parsed eventlogs.
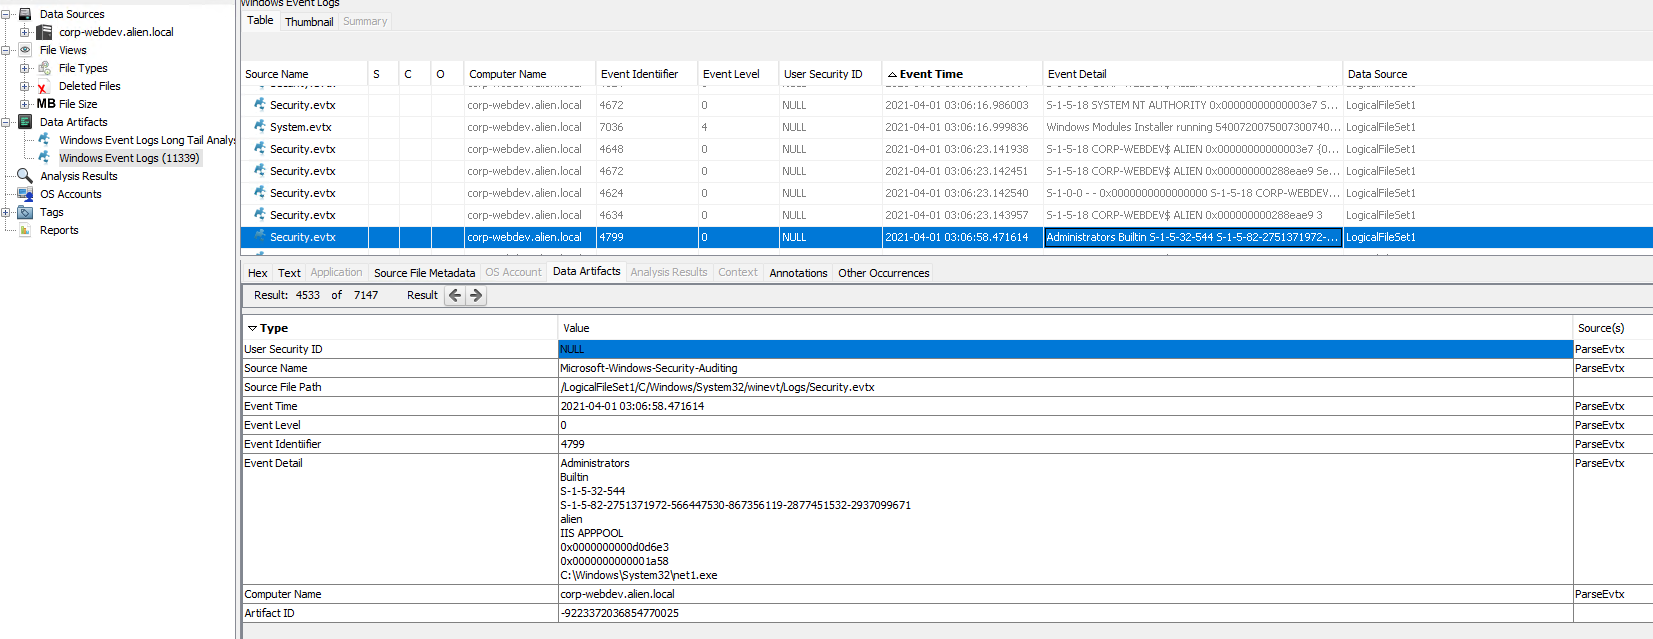
We know the timestamp, so we can check the event logs at that time. Just prior to 03:08 there is an entry in the Security eventlog, Event ID 4799 - “A security-enabled local group membership was enumerated”. The information in the log show us that the user was IIS APPPOOL and that the command they ran was net1.exe
M-3 #
PE-3 #
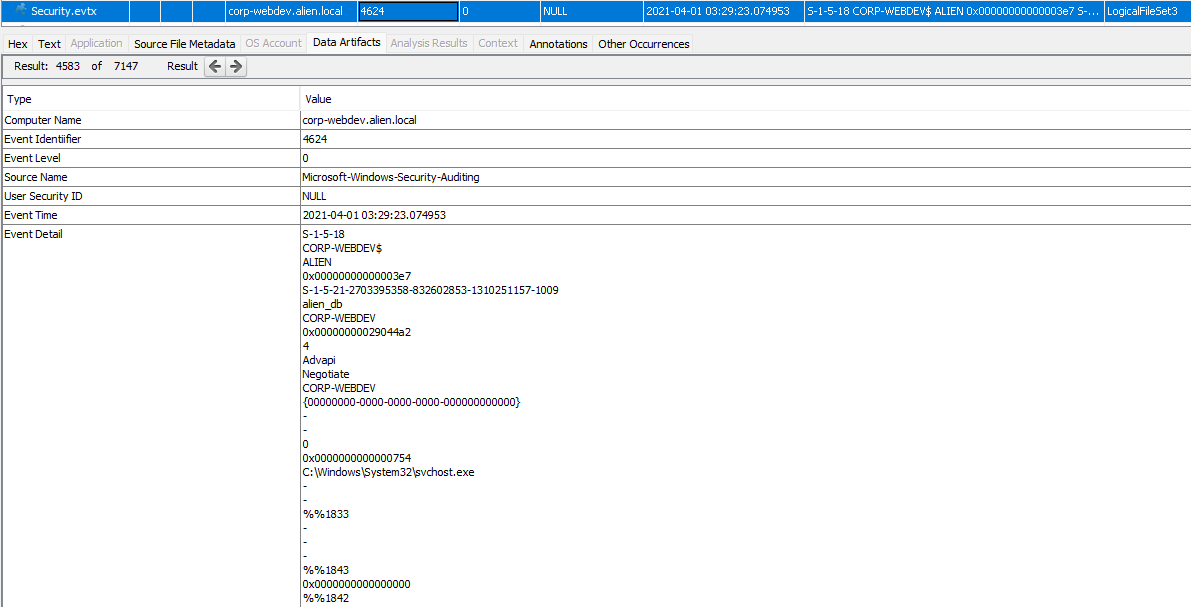
Check out the results in the Data Artifacts tree on the left.
We can see the next account used to login (EventID 4624) was “alien_db”.
M-4 #
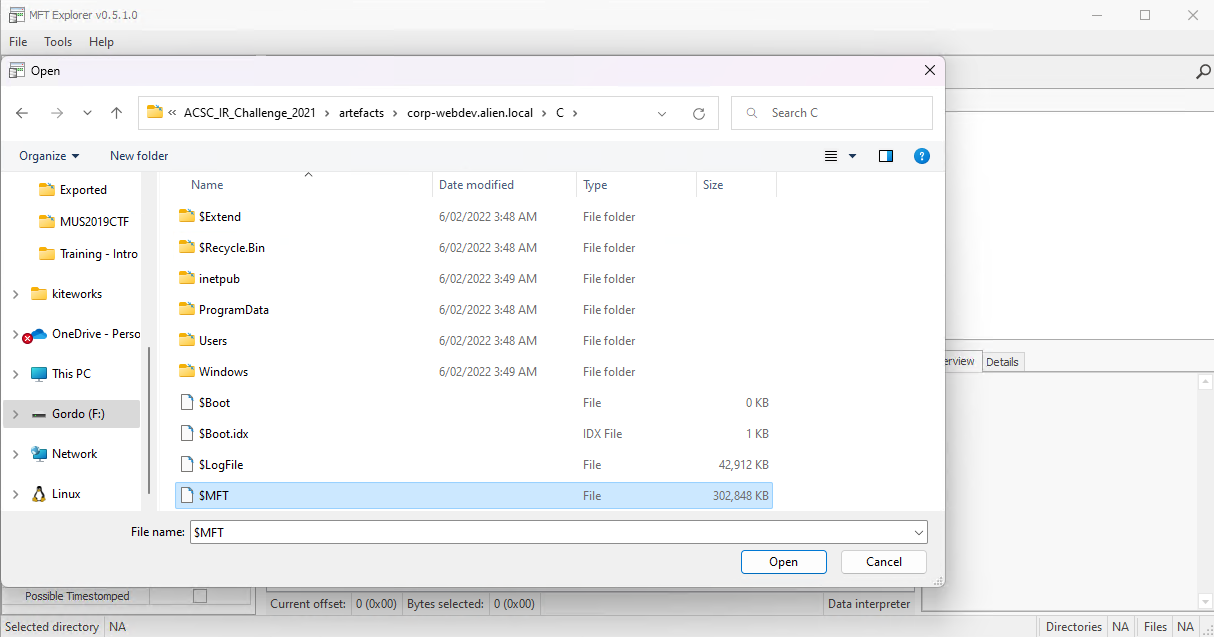
Note: This will probably take a fairly decent amount of time to load up.
I then Googled “dotnetnuke+db password” to see if i can get an idea of where the password might be stored and found this - “how do I find my database password”.
- The databasename, userid, and password will be found in the < connectionStrings > section of the site’s web.config file located in the root of the site’s filesystem. It is not accessible from the portal or host settings or from the file manager. It is not necessary to keep the same database password. When moving the site don’t forget to update BOTH connection strings with the new information. The second connection string is under the < appSettings > section of web.config and is the node with key=“SiteSqlServer”.
<connectionStrings>
      <add
      name="SiteSqlServer"
      connectionString="Server=vista;Database=Demo;uid=someuser;pwd=somepwdr;"
      providerName="System.Data.SqlClient" />
</connectionStrings>
PE-4 #
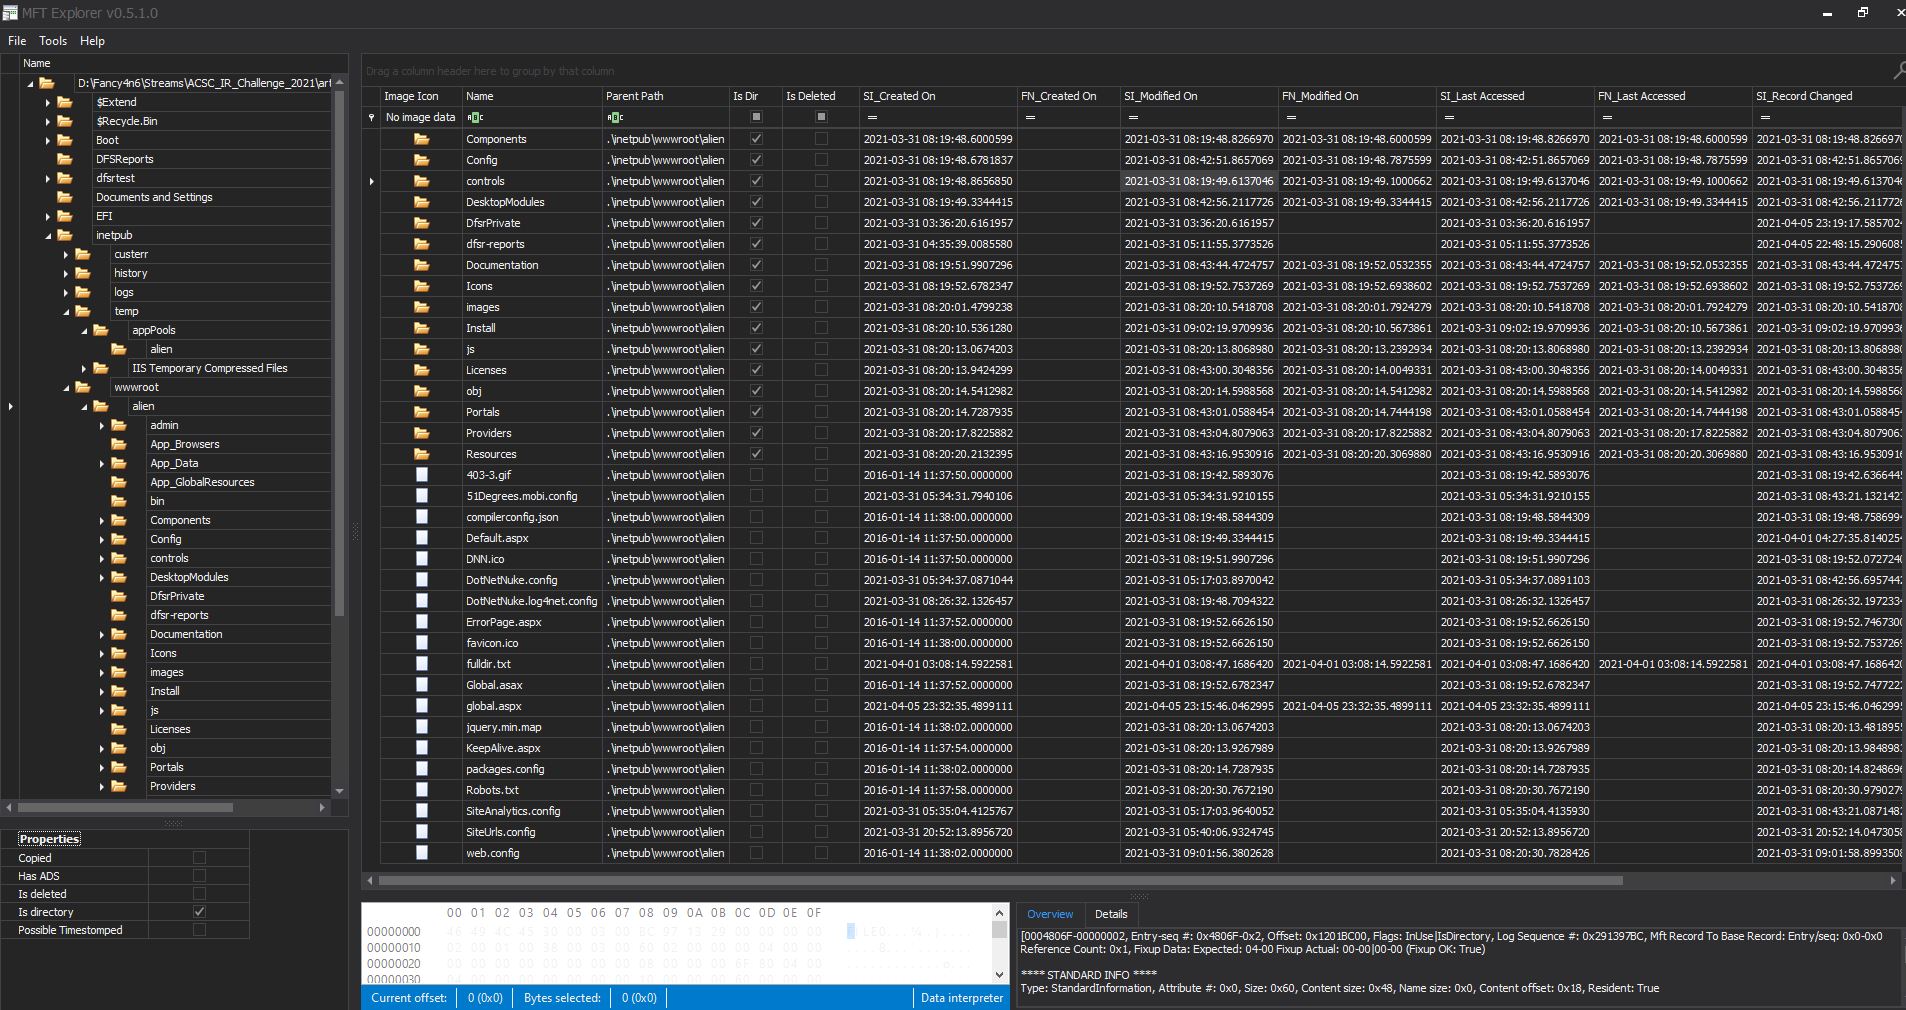
Often in CTFs they will add clues to the questions as to what they are looking for, and in this instance it is the word “tasks”. To find that I looked at the corp-webdev MFT output around the time of the alien_db account logging on.
Just prior to this there is a task created at 2021-04-01 03:29:23: “Windows NUpdate” - looks suspect.

PE-5 #
So we saw that there was a t least one malicious schedule task created by the attacker. So I’ll want to:
- look at the Task Scheduler event log - Microsoft-Windows-TaskScheduler%4Operational.evtx
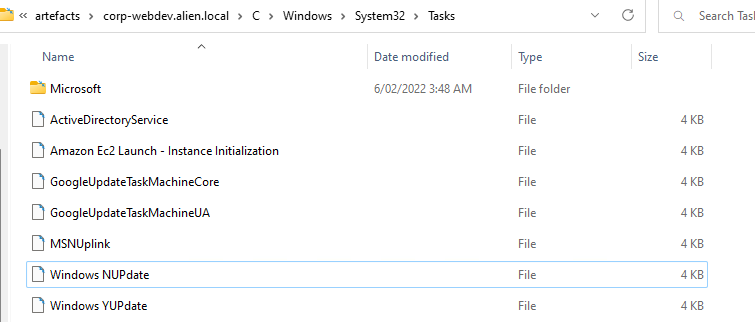
- Review the tasks in “corp-webdev.alien.local\C\Windows\System32\Tasks”.
We can review the EventLogs in Autopsy, or simply open the event log file in Event Viewer and we’ll see that there are 3859 events in total in the log file.
Sorting on Date and Time and finding the corresponding event to 2021-04-01 03:29:23:
- 1/04/2021 3:29:23 AM - Task registered -
User "alien_db" registered Task Scheduler task "\Windows NUPdate" - 1/04/2021 3:30:34 AM - Launch request queued -
Task Scheduler queued instance "{9c83b591-e787-449c-92f3-3e87b1301577}" of task "\Windows NUPdate". - 1/04/2021 3:30:35 AM - Created Task Process -
Task Scheduler launch task "\Windows NUPdate" , instance "c:\sysinternals\procdump.exe" with process ID 5372. - 1/04/2021 3:30:36 AM - Action completed -
Task Scheduler successfully completed task "\Windows NUPdate" , instance "{9c83b591-e787-449c-92f3-3e87b1301577}" , action "c:\sysinternals\procdump.exe" with return code 4294967294. - 1/04/2021 3:30:36 AM - Task completed -
Task Scheduler successfully finished "{9c83b591-e787-449c-92f3-3e87b1301577}" instance of the "\Windows NUPdate" task for user "CORP-WEBDEV\alien_db".
PE-6 #
Looking at the task itself in notepad - “..\ACSC_IR_Challenge_2021\artefacts\corp-webdev.alien.local\C\Windows\System32\Tasks” we can see a lot of information about the task in XML format, including the execution information.
<Exec>
      <Command>c:\sysinternals\procdump.exe</Command>
      <Arguments>-accepteula -ma lsass.exe c:\inetpuub\wwwroot\alien\lsass.dmp</Arguments>
    </Exec>
We can easily see that the output file was named lsass.dmp and was configured to write to the c:\inetpuub\wwwroot\alien\ directory.
The easiest way to check this is to go back to our MFT output and find the created date and time stamp: 2021-04-01 03:35:00
Note: You may have noticed another task called Windows YUpdate in the task folder as well… I wonder when we need to look at that?