2.3 - Installing Windows in VirtualBox #
There might be some booing from the crowd, but we are going to do our digital forensic analysis on a Windows system and with some common tools that we can run within Windows to complete our mission.
2.3.1 Lab Objectives #
By the end of this lab you should be able to:
- Find where to download a copy of Microsoft Windows 10 evaluation version and download to your computer.
- Create a virtual machine in VirtualBox using the downloaded ISO image.
- Run through installing Microsoft Windows 10 and successfully login.
- Update language packs and date and time.
- Create a hard drive in VirtualBox and attach to a virtual machine.
- Format the hard drive within Windows.
2.3.2 Get a copy of Windows 10 and install #
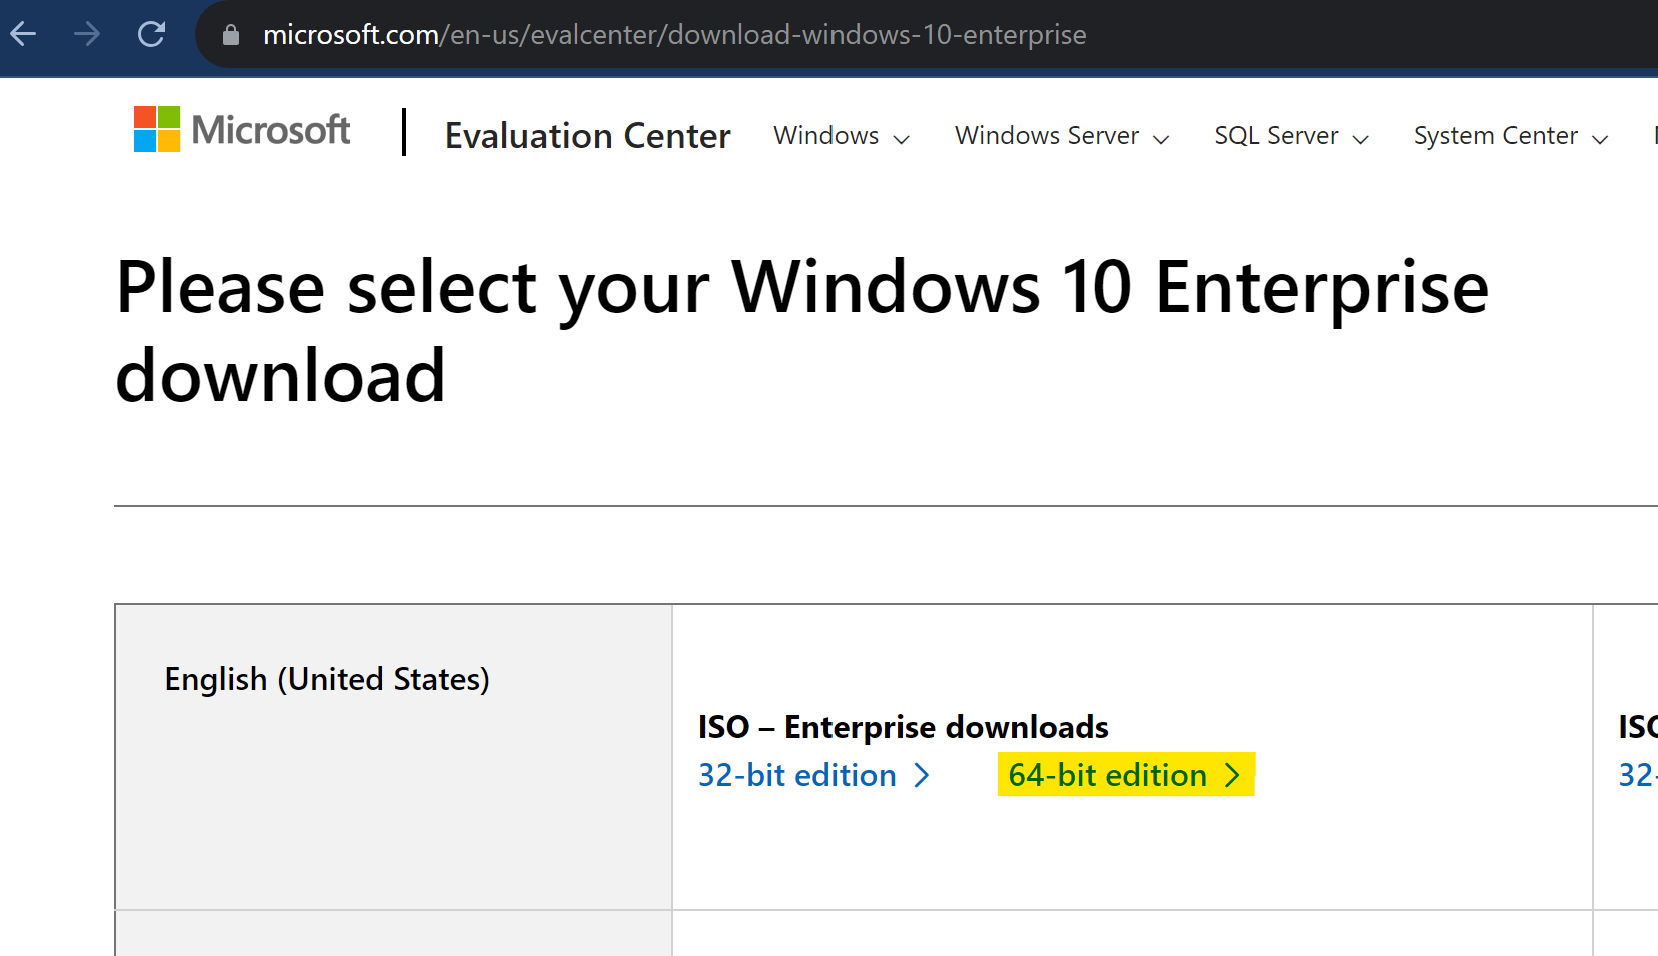
First of all you will need a copy of the Windows operating system. We’ll demonstrate the labs using Windows 10. If you do not have access to a licensed copy of Windows 10, you can download evaluation versions directly from Microsoft.
Windows 10 Enterprise | Microsoft Evaluation Center
Note: These versions cannot be activated and once installed will last for 30 days and then the background will go black and the system will shut down every 30 days.
Go to the Microsoft site and select the ISO for the version of Windows 10 that suits your hardware. I’ve selected the English (United States) version. Download the ISO (and wait).
2.3.4 Create a virtual machine. #
Once the ISO image has downloaded, open VirtualBox.
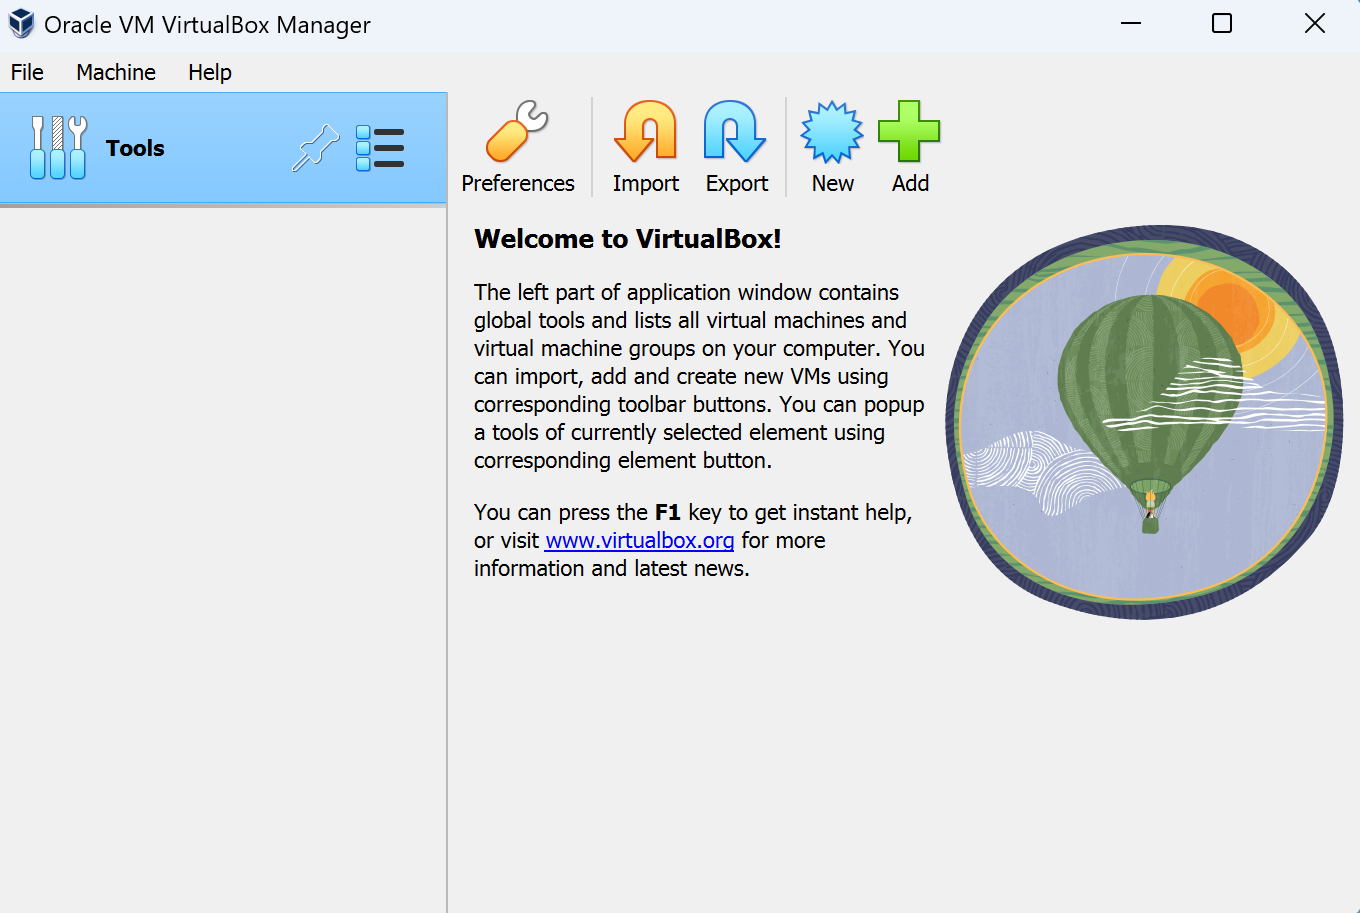
Click on New and the window “Create Virtual Machine” will pop up. Fill in the information as shown in the image below.
- Name: Introduction to DFIR
- Folder: the folder location on your computer that you want to store the virtual machine information and hard drives.
- ISO image: Do not select anything here yet.
- Leave the rest as default.
- Then click Next.

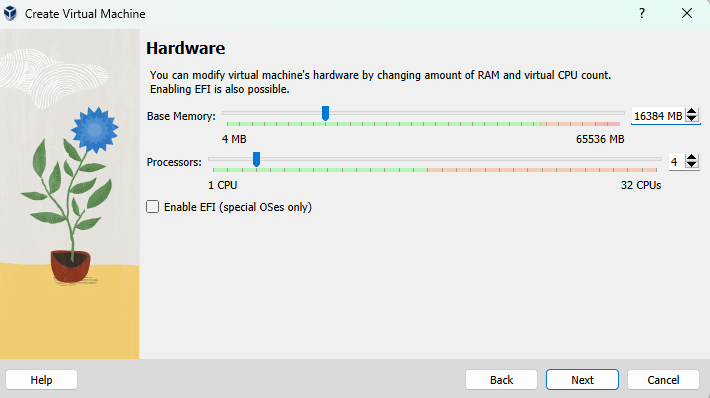
The amount of hardware that you can give to the virtual machine will depend on the computer you are running on. I will assign 16GB to base memory and 4 CPUs to processors. Then click Next.
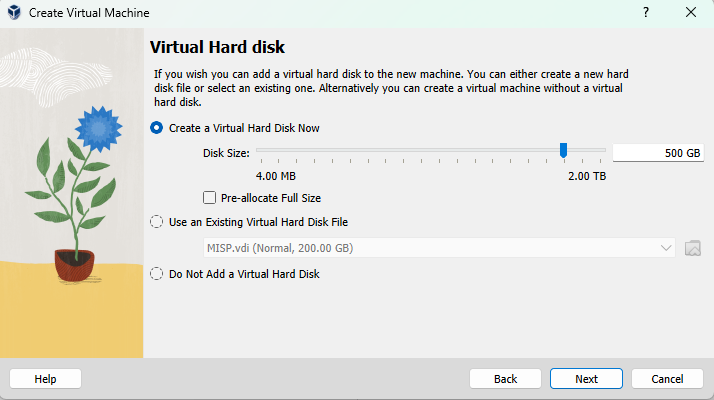
We’ll create our virtual hard disk now that will hold the operating system and where we will store our evidence files.
- Once again the size of the disk will be relative to the disk space that you have available.
- I’ve chosen 500GB.
- Click Next.
Review the summary and click Finish when you are ready. You will return to the “Oracle VM VirtualBox Manager” window.
2.3.5 Installing Windows in the virtual machine #
Find your “Introduction to DFIR” appliance on the left menu, select it, and then select settings.
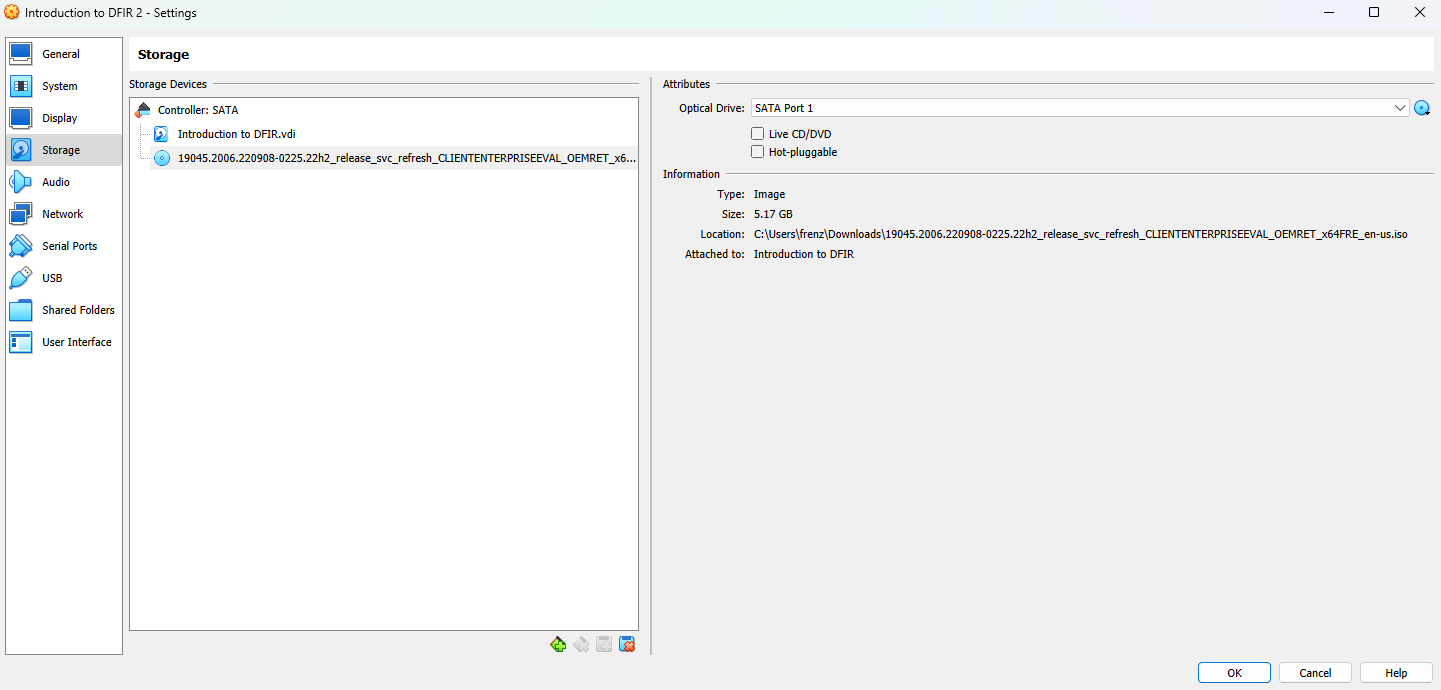
Select storage from the left menu now.
You’ll see a symbol of a CD and it likely says “empty”. Click on this and then on the CD icon over on the far right after “optical Drive”.
Choose “Choose a disk file” and find where you downloaded your copy of Microsoft Windows to and choose open.
Click OK.
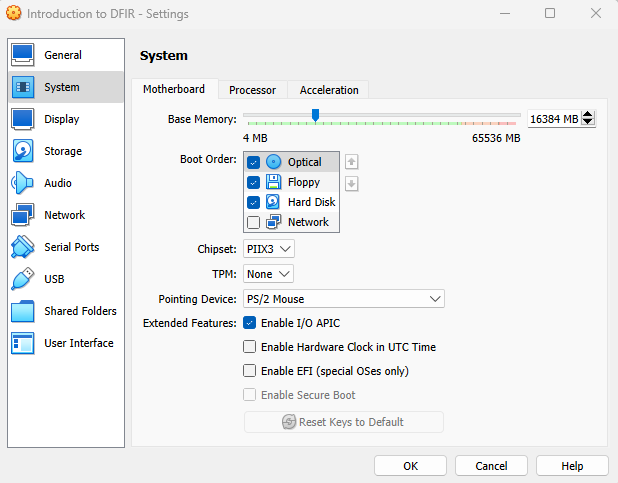
Now go to “System” in the left menu. Select Optical under boot order and move it to the top.
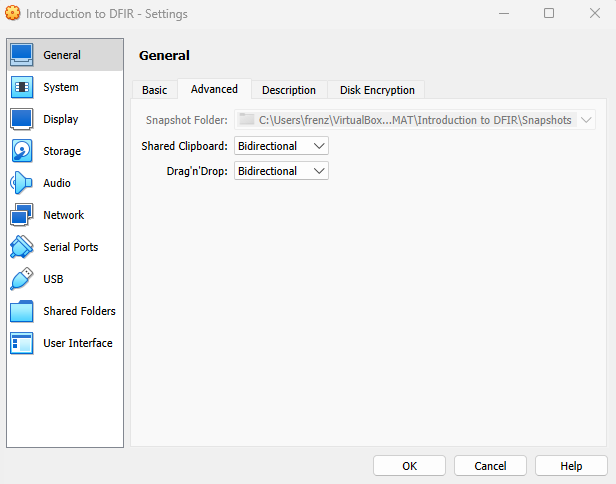
While you are here, go to “General” and I choose “Bidirectional” for both Shared Clipboard and Drag’n’Drop.
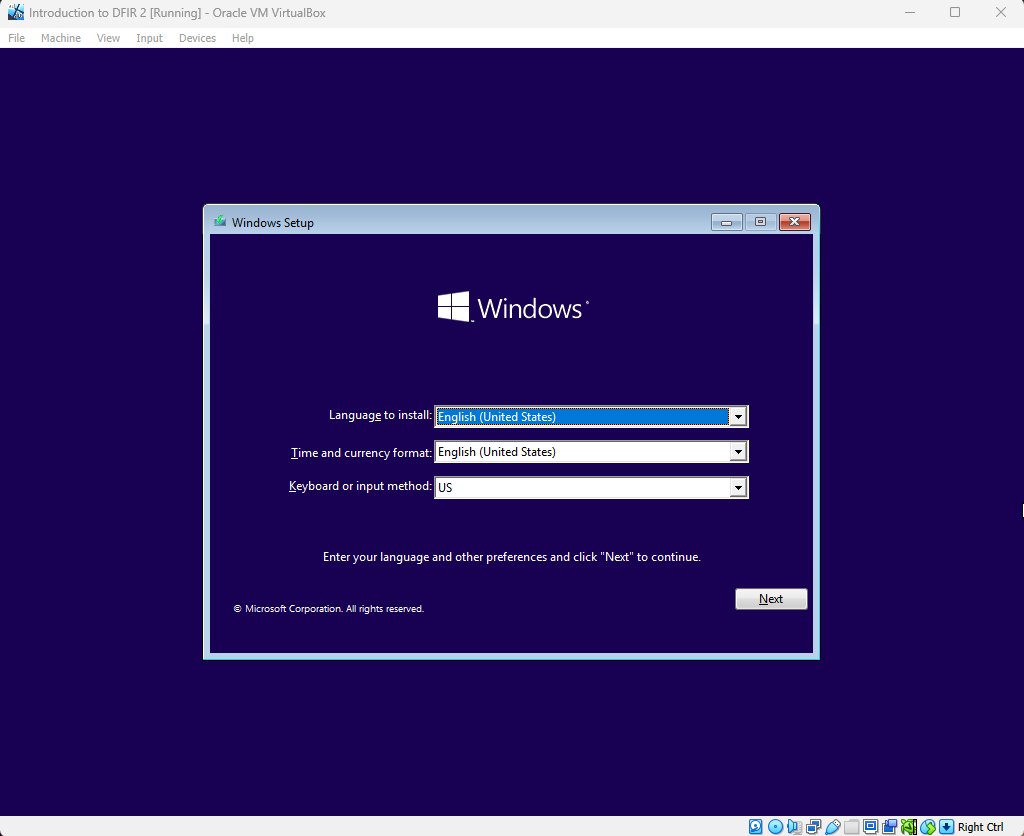
Click on OK and start the virtual machine. After a minute or so you should see the Windows Setup screen. Click Next and Install now.
The set up may take some time to complete. Make sure that you accept the license terms and Custom Install.
Select the hard drive that you created to install the operating system on and next. Likely it will be the only Unallocated space listed.
Windows will now install (be patient).
The virtual machine will reboot.
Choose your region: For Example, Australia and then Yes.
Choose your keyboard layout (for Australia US is correct).
Skip adding a second keyboard layout.
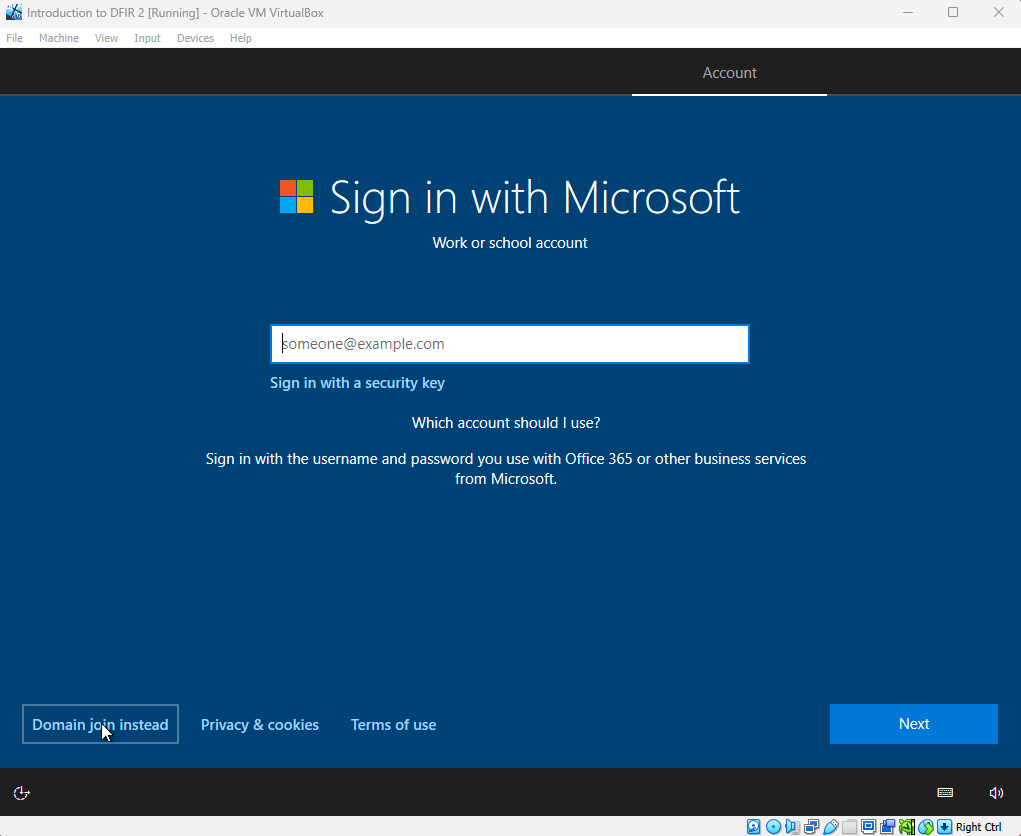
Finally you’ll get to the point where you need to sign in or create an account. On this screen on the bottom left select “Domain join instead”.
Select a username and password.
Click through.
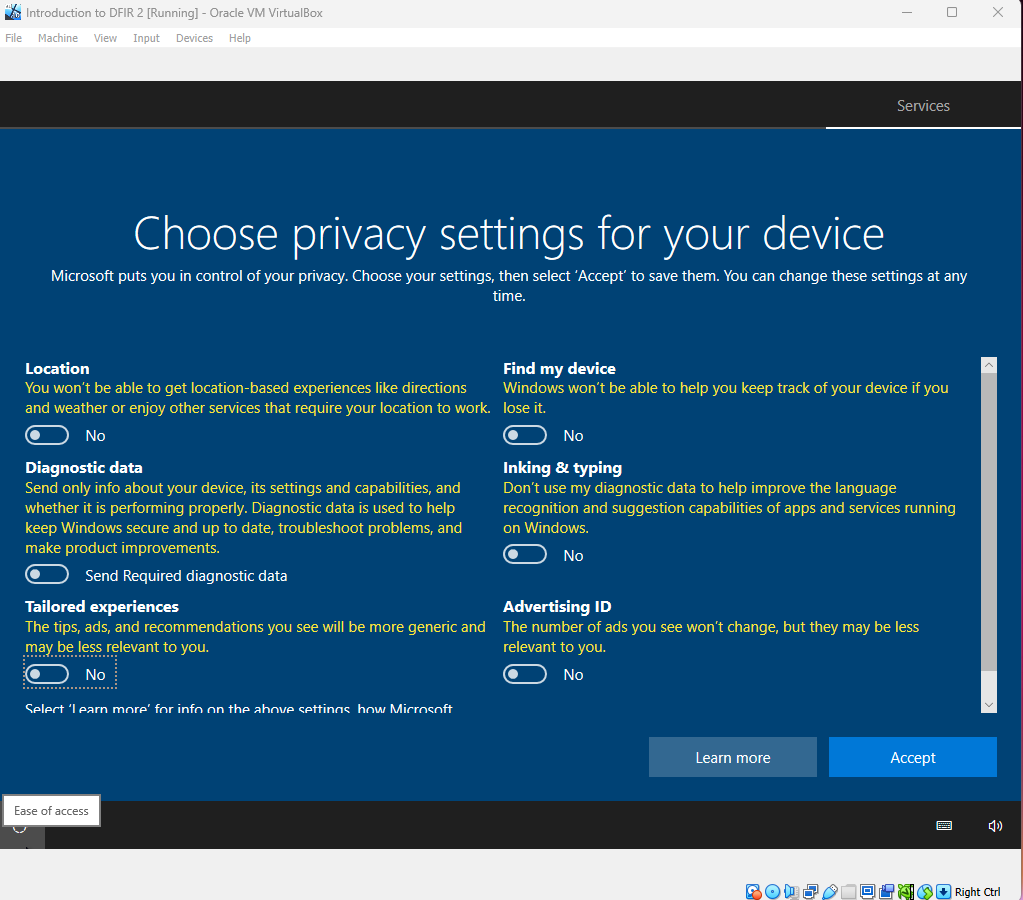
Turn all the options off on the privacy settings for your device window and accept.
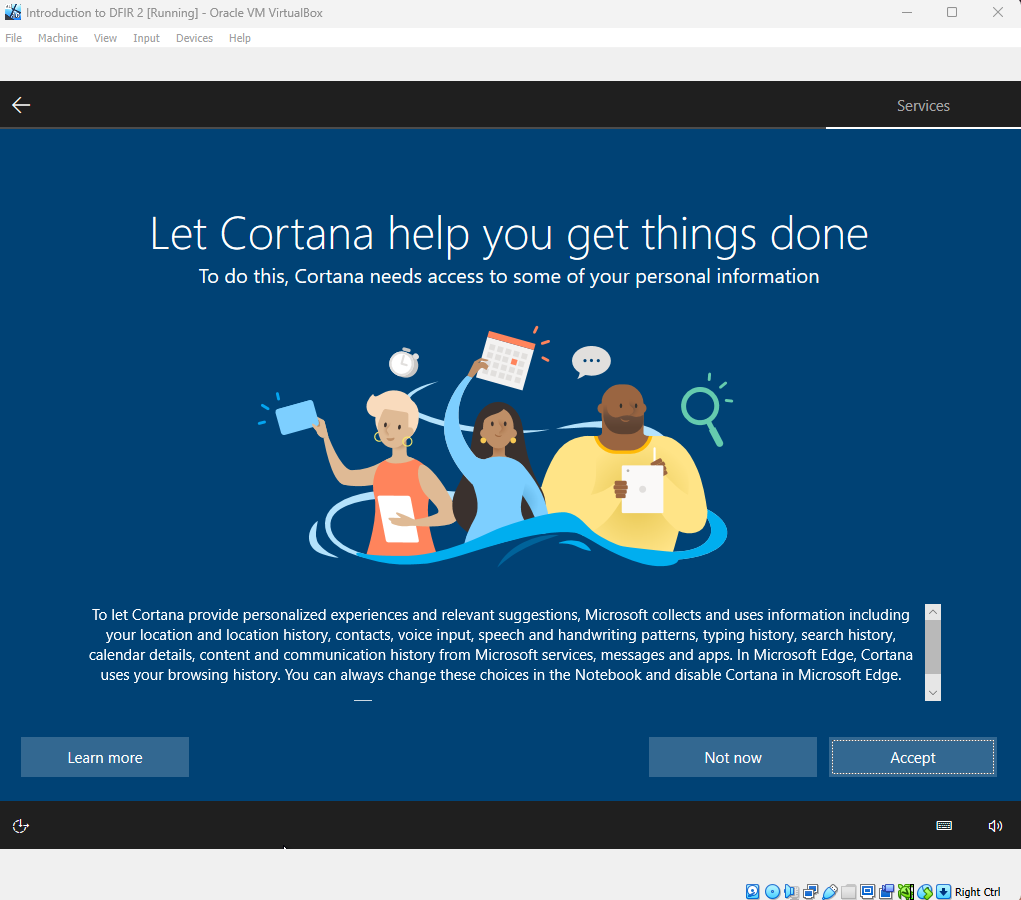
Cortana will not be helping us get things done, so select “Not now”.
Windows should now boot.
I usually take the time to create a VirtualBox snapshot now. This will enable us to revert back to this specific point of installation if required.
Go the “Machine” menu at the top and select “Take Snapshot”.
Give the snapshot a name: Windows initial install, and click OK.
VirtualBox will now take a snapshot.
2.3.6 Configure a few Windows settings #
There are a few changes that you can make while we are here, one being to change the default language to Australian. Click on the ENG symbol in the task bar and choose Language preferences.
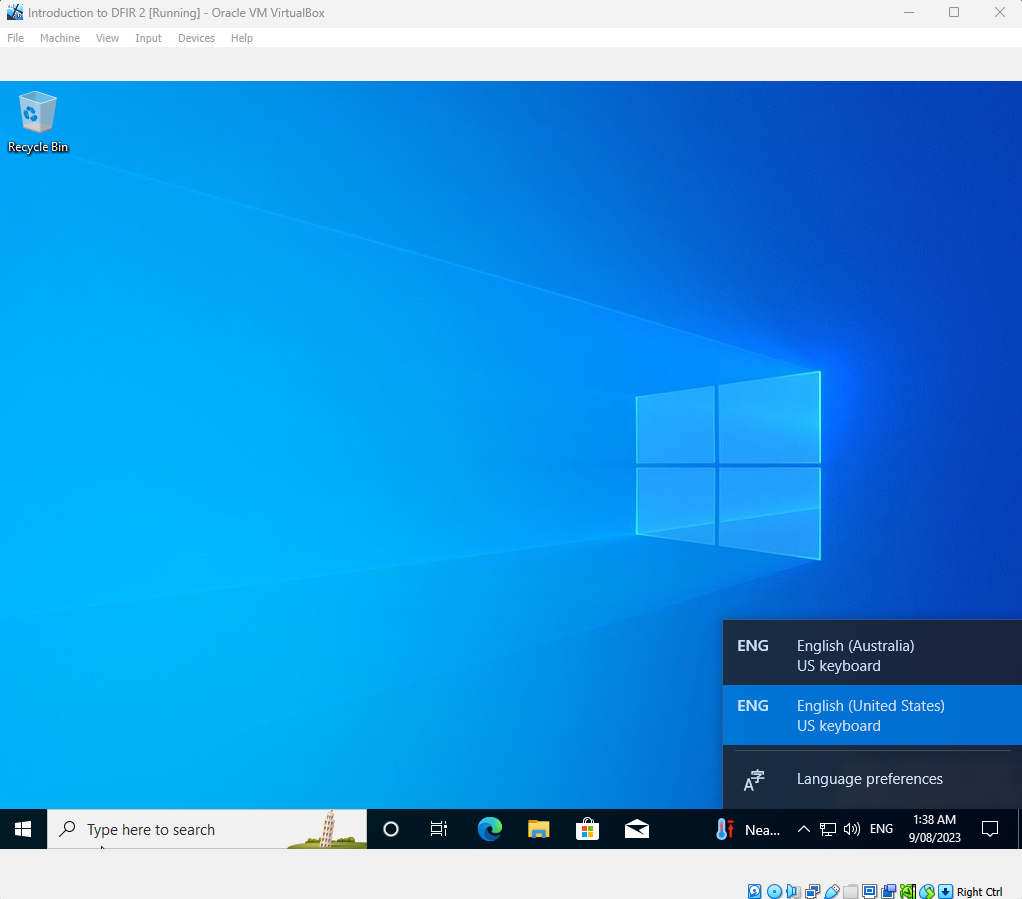
Under Preferred languages I’m going to click on English (Australia) then options, and then download the language pack. Once that has been downloaded and installed you can go back to the language screen and choose English (Australia) as your default (and say no sign out later).

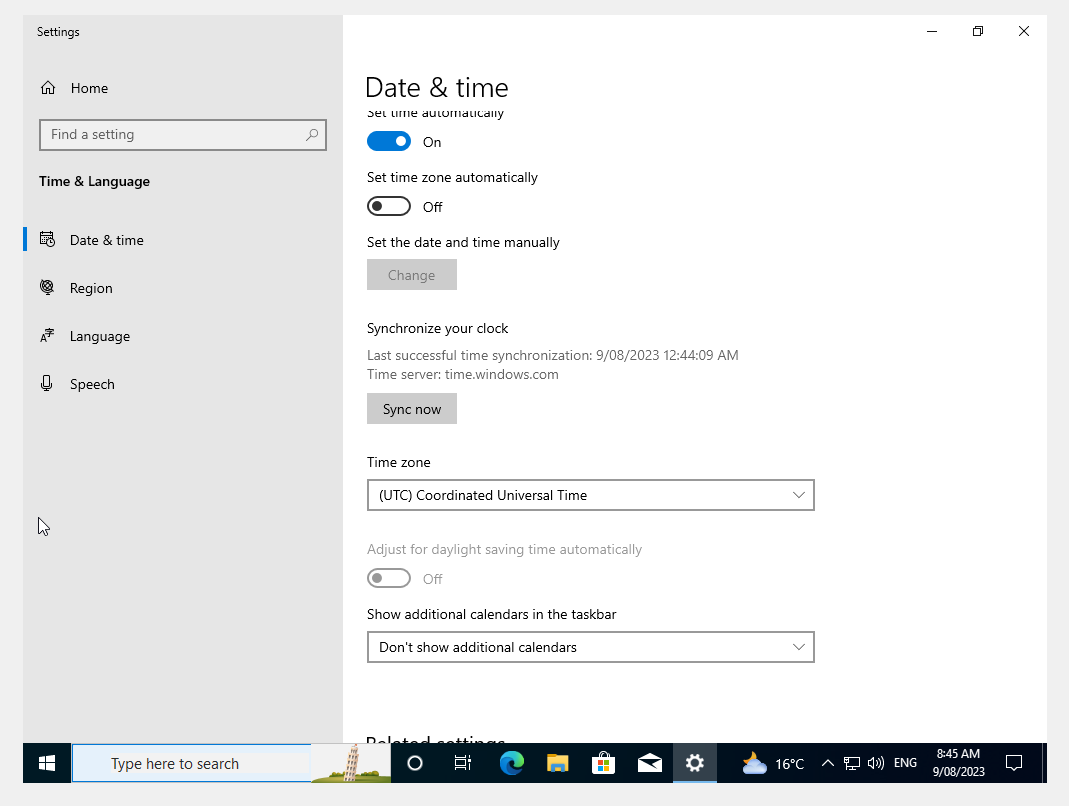
While we are here, go to Date & Time from the left menu and select the Time zone of (UTC) Coordinated Universal Time. Click “Sync Now”.
Some other useful tweaks to make to your windows system.
- Power Options
- Screen and Sleep > When plugged in, put my device to sleep after > set to Never.
- Windows Update Settings
- Advanced Options > Get me up to date > off
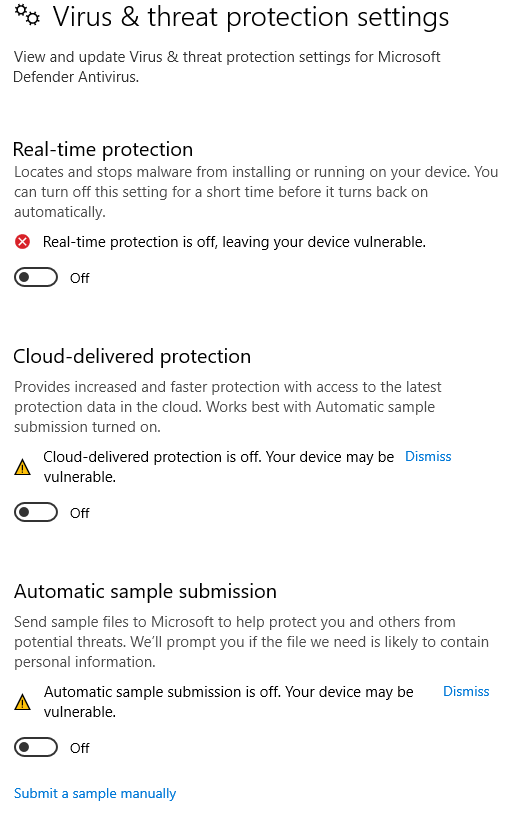
- Windows defender (Search: Virus & threat protection)
Under Virus & threat protection settings
Disable Windows Defender and add
c:\to the exclusion list.
2.3.6 VirtualBox guest additions #
- In your virtual machine window, go to Devices in the top menu and then “Insert Guest Additions CD Image..”
- In Windows open File Explorer and browse the “This PC” and then the CD Drive. You’ll see the Guest additions iso image has been mounted for you.
- Double click on the CD and then double click on VBosWindowsAdditions.exe to install.
- Once it has installed, shut down Windows.
2.3.7 Setting up a second hard drive in VirtualBox #
We will want to have two hard drives attach the the virtual machine. I’ll explain why in a little more detail throughout the course, but we’ll create a second hard drive and attach it to our virtual machine for now.
Tip: If you have a common set of tools or installers that you would like to have each time you start a new case, for example, FTK imager installer file, then you can create a separate storage drive that can be added to the virtual machine (or multiple virtual machines). Much like a shared network drive.
From the left tree window in VirtualBox, select the virtual machine you created and then settings. Go to Storage and select the 3rd icon under the storage devices window and choose “Hard disk”.
A window hard disk selector will pop up.
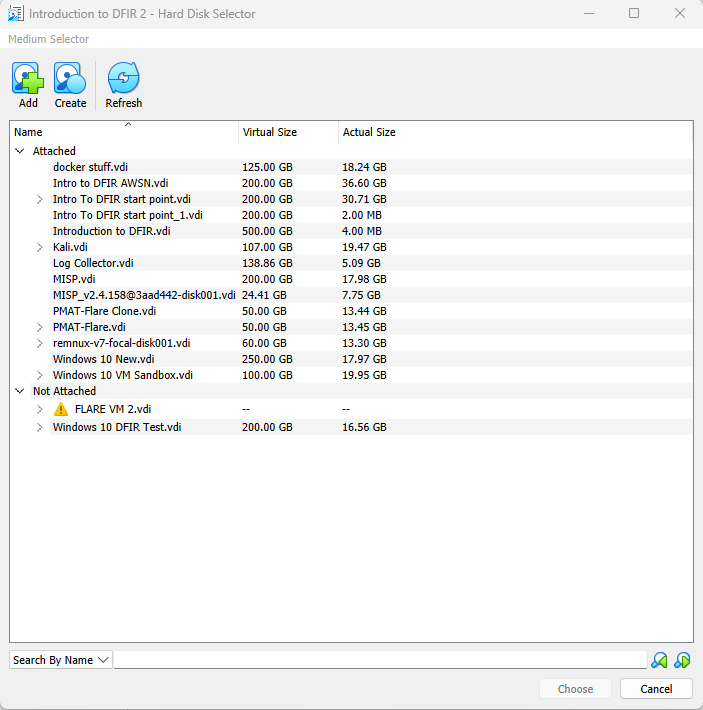
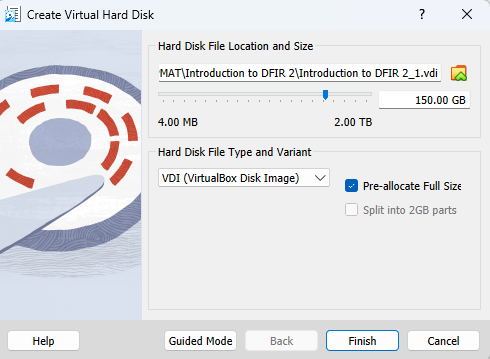
Click on create to open the Create Virtual Hard Disk wizard.
- I’ve changed the size to 150GB.
- I’ve selected “Pre-allocate Full Size”.
- Then click finish.
The hard drive will be created.
Once it is created you need to attach it to your virtual machine.
Go the virtual machine settings then storage. Click on “Add hard drive” and select the drive you just created.

Click choose and then ok. The disk is now attached.
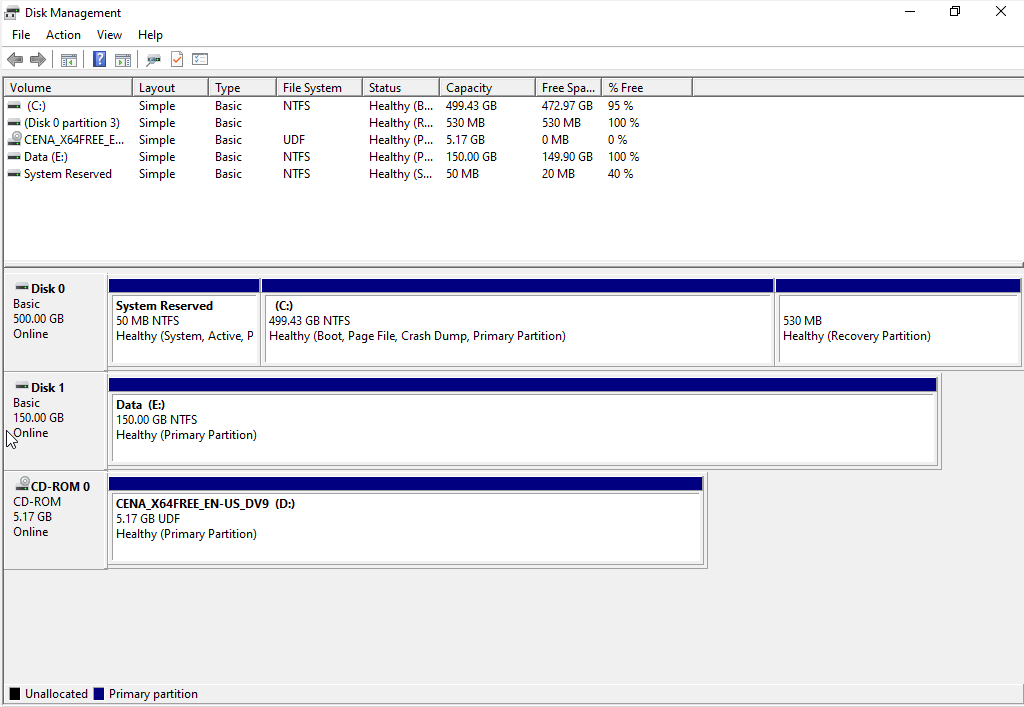
2.3.8 Formatting the second drive in Windows #
Once you have created the hard drive in VirtualBox and attached it to your virtual machine, you’ll need to format the drive ready for use in Windows.
Log into your Windows virtual machine.
Go to the Start menu and then settings.
In the search box start typing “create and format hard disk partitions”.
You should see a pop up asking you to initialise the disk
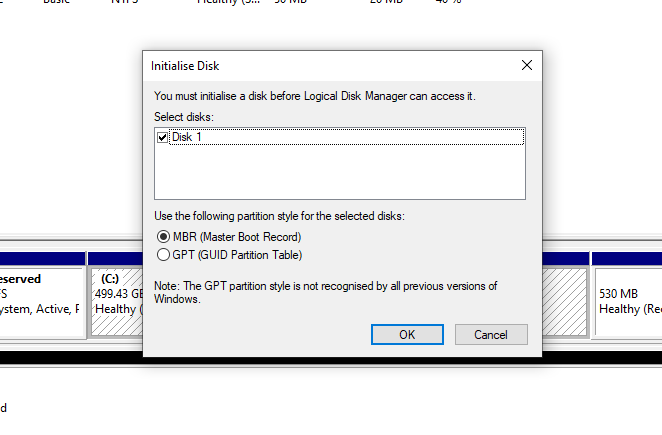
Leave the defaults and click on OK.
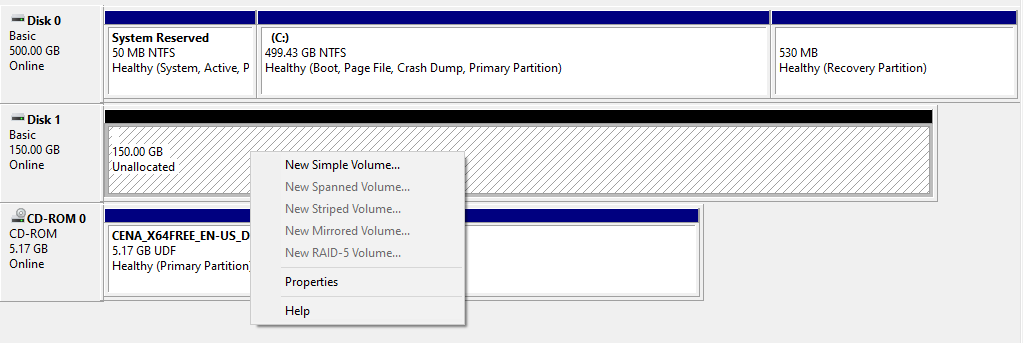
This disk is now initialised and you can create the partition. Right click on the unallocated space and choose “new Simple Volume”
Follow the wizard. You might want to call your drive something like “Data”. Once it’s finished you’ll have a second hard drive attached.