2.4 - Installing Windows Terminal and PowerShell 7 #
2.4.1 Lab Objectives #
By the end of this lab you should be able to:
- Install PowerShell 7 and understand the difference in the versions.
- Install Windows Terminal.
- Add additional profiles to Terminal.
2.4.2 Installing PowerShell 7 #
If you like to nerd out a little bit and want to understand the difference between Windows PowerShell and PowerShell, you can read all about it here.
Open a command prompt.
Run
winget install --id Microsoft.Powershell --source winget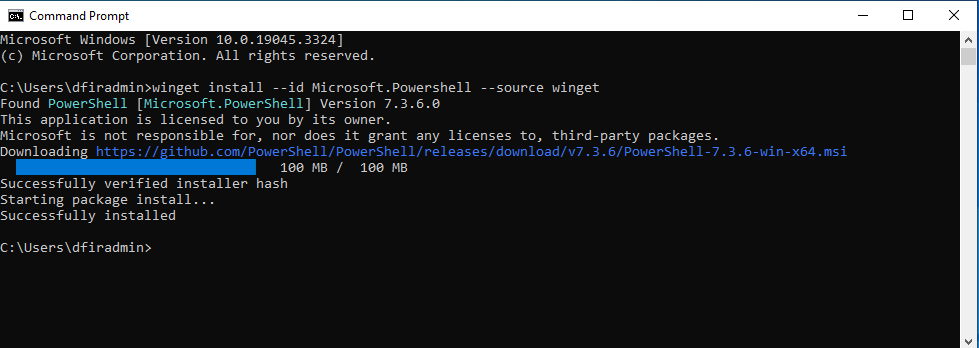
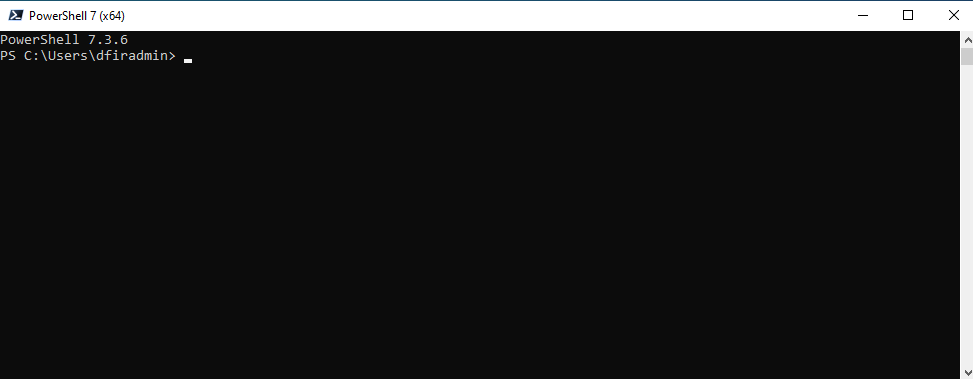
PowerShell 7 can now be run in its own Window
2.4.2 Installing Windows Terminal #
Windows terminal is my preference command line utility as I can run PowerShell, command Prompt, and WSL all in tabs with custom configuration. You can learn more about Windows terminal here.
Open a command prompt.
Run
winget install -e --id Microsoft.WindowsTerminal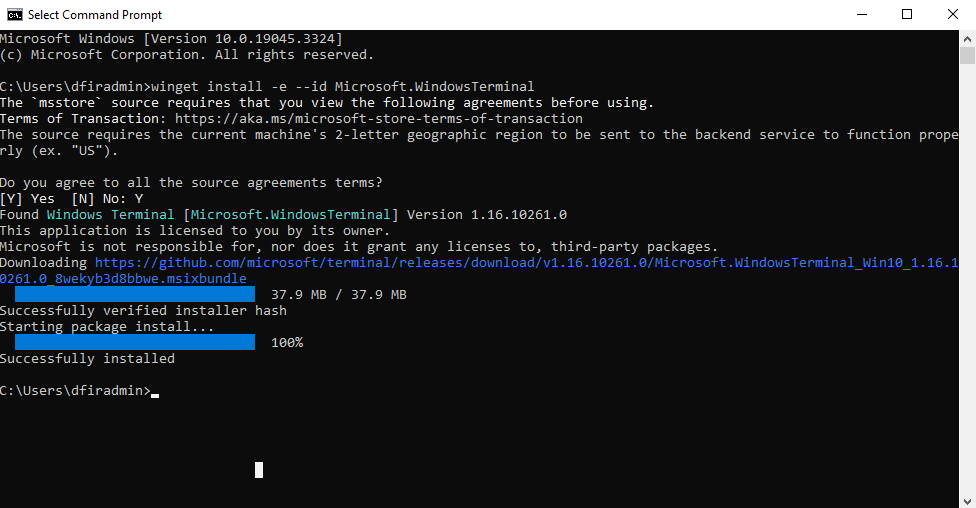
You can now open Windows terminal. I right click on the taskbar icon and select “Pin to taskbar”
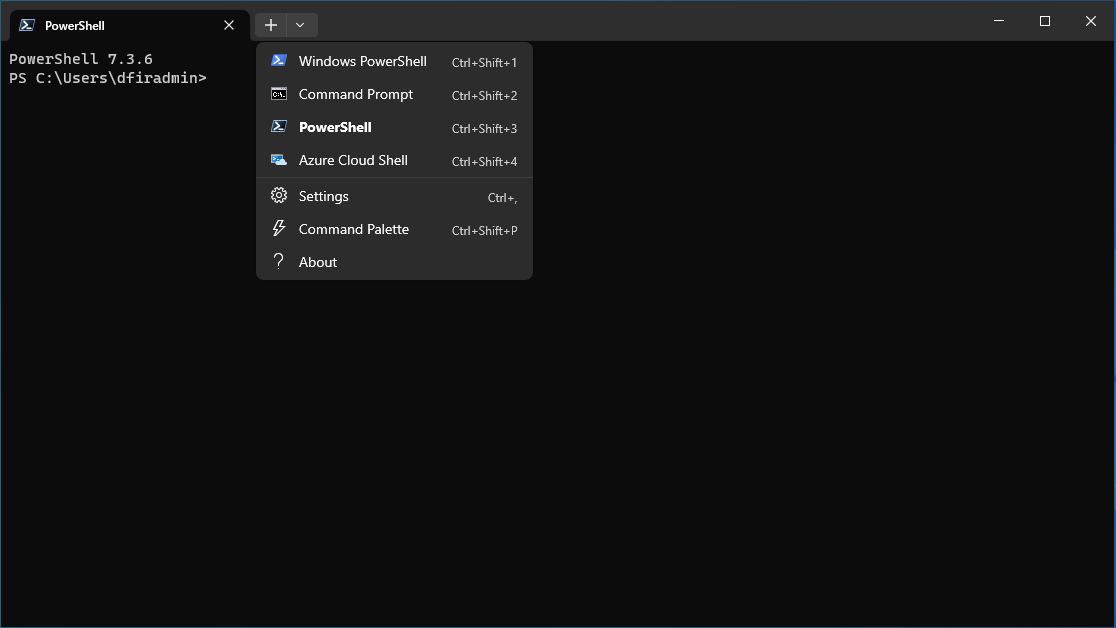
2.4.3 Configuring Windows Terminal #
Now that Terminal is installed, I set up a few extra profiles to make my workflow quicker. These include profiles that run as Administrator for PowerShell, Windows PowerShell and Command Prompt.
- Go to Settings and the bottom of the left menu select “Add a new profile”.
- Duplicate profile and select the profile you want to duplicate, for example PowerShell.
- Click Duplicate.
- Rename to “PowerShell (Admin)”.
- Select “Run this profile as Administrator” and save.
- Repeat for the other profiles you want too an Administrator prompt for.